Automated messages can be set up to run when specific things happen (i.e. students membership is expiring or a student’s birthday is approaching).
To set up Automated Messaging
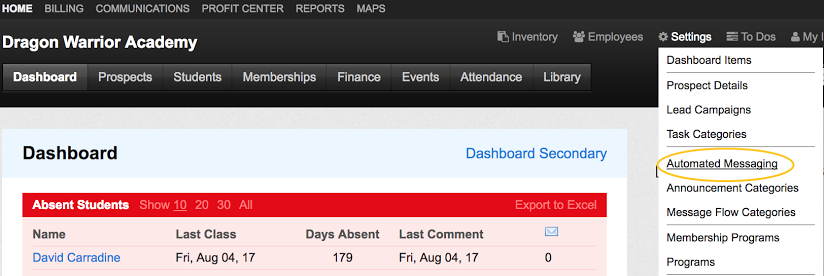
- Hover over Settings and click on Automated Messaging.
2. To turn an automation on, click on the toggle button next to the desired category.

3. Enter a number (in days) for when you want this alert to be sent after the trigger (for example, triggered 1 day after you add a new student).
4. Enter a number (in days) for how often you want to send another email to remind the recipient.
5. Add a subject for the email and a customized body of the email.

- You can also customize the body section of the email to your liking.
- Within the body text area, you will see text that has two parentheses surrounding it:
- These are "hooks" or snippets of text that will be converted when the email is sent.
- For example, ((student_name)) will be converted to John Doe, or ((membership_program)) will be converted to My Membership Program.
- If you would like to use a hook that is not there, please let us know and we will consider adding it in.
Available hooks:
- ((student_name))
- ((prospect_name))
- ((last_class))
- ((membership_program))
- ((membership_end_information))
- ((school))
- ((event))
- ((event start))
- ((invoice_id_number))
- ((invoice_total_due))
- ((recurring_invoice_date))
- ((recurring_invoice_total))
6. When you are finished adding automated messages, scroll down to the bottom and click the blue Update Automation Settings button.
